
How to Set Up an Inflatable Bounce House at Home: A Complete Step-by-Step Guide

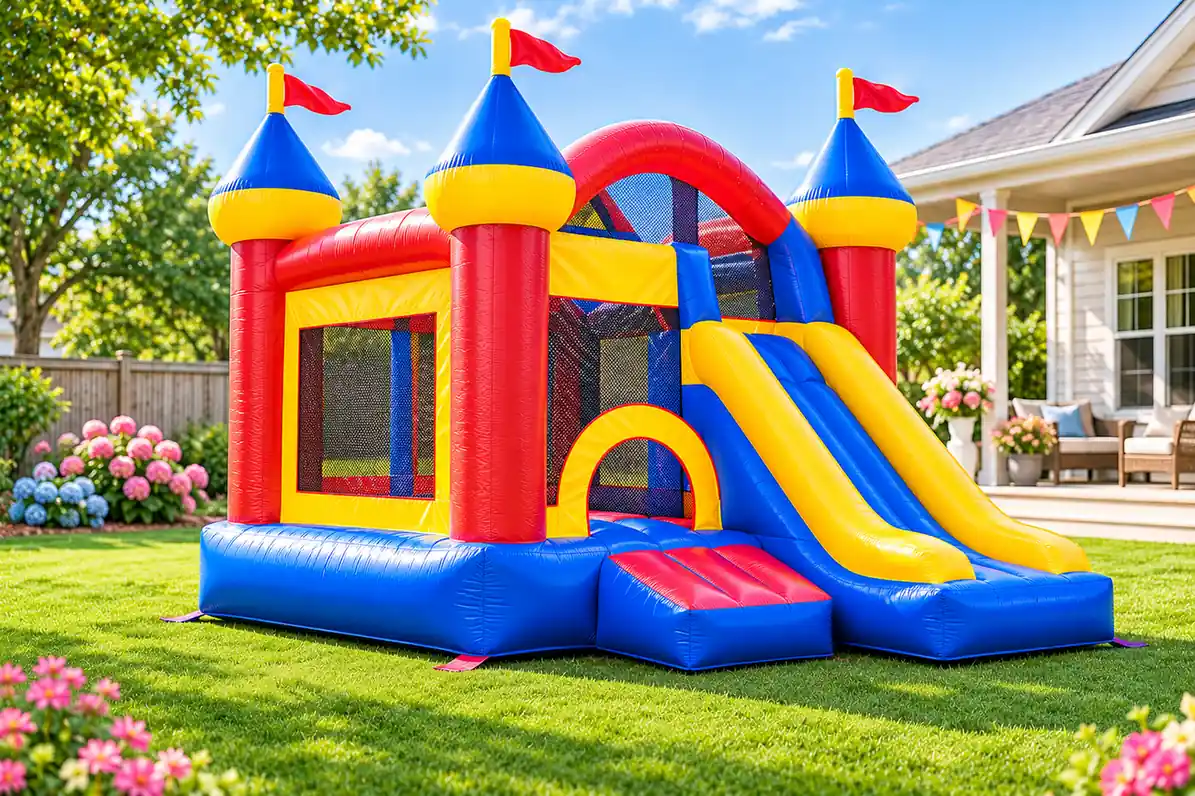
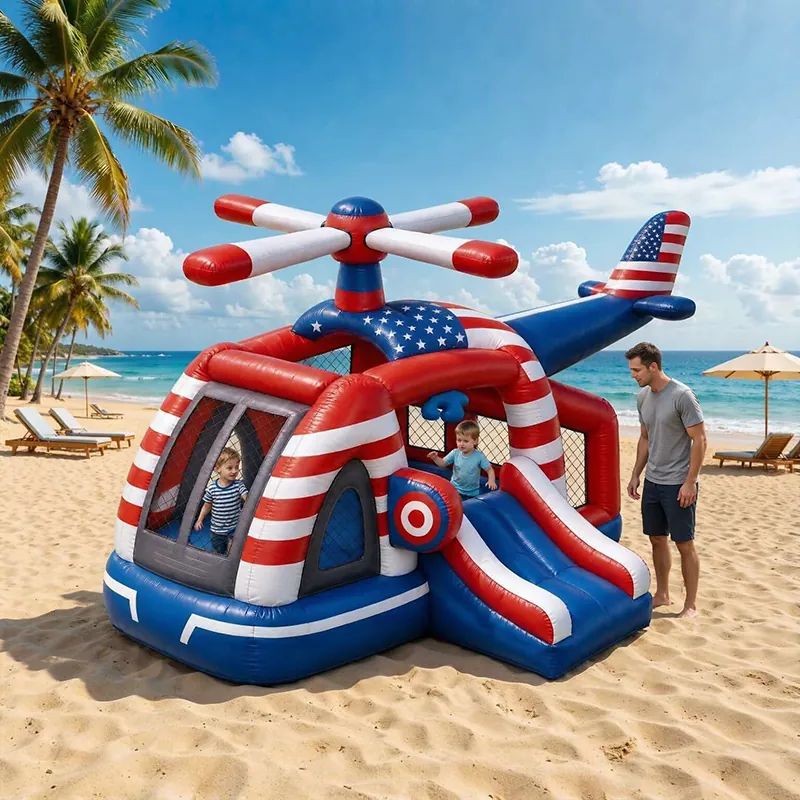
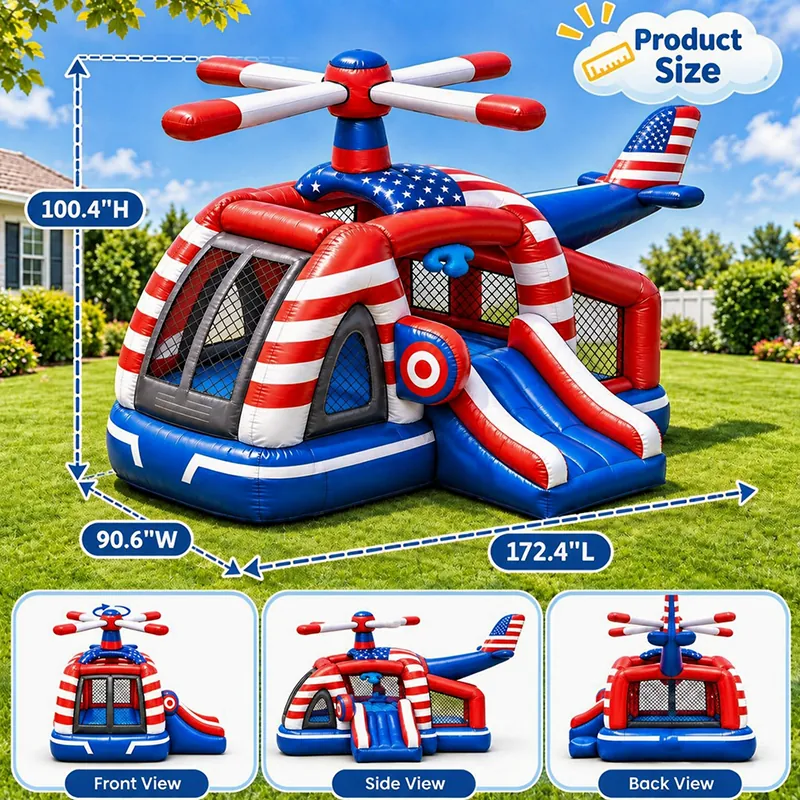
Setting up a bounce house at home turns any backyard birthday, holiday gathering, or weekend playdate into an instant party. While commercial inflatables look massive and intimidating, setting one up is straightforward as long as you prioritize site preparation and anchor safety.Learning how to set up an inflatable bounce house at home turns any backyard birthday, holiday gathering, or weekend playdate into an instant party. While commercial inflatables look massive and intimidating, setting one up is straightforward as long as you prioritize site preparation and anchor safety.
Follow this comprehensive guide to safely unroll, inflate, secure, and pack down your bounce house.
1. Choose and Prepare the Location
The first phase of how to set up an inflatable bounce house is designating a safe, obstacle-free zone.Before moving any heavy equipment, you need to designate a safe zone that protects both the inflatable fabric and the children jumping inside.
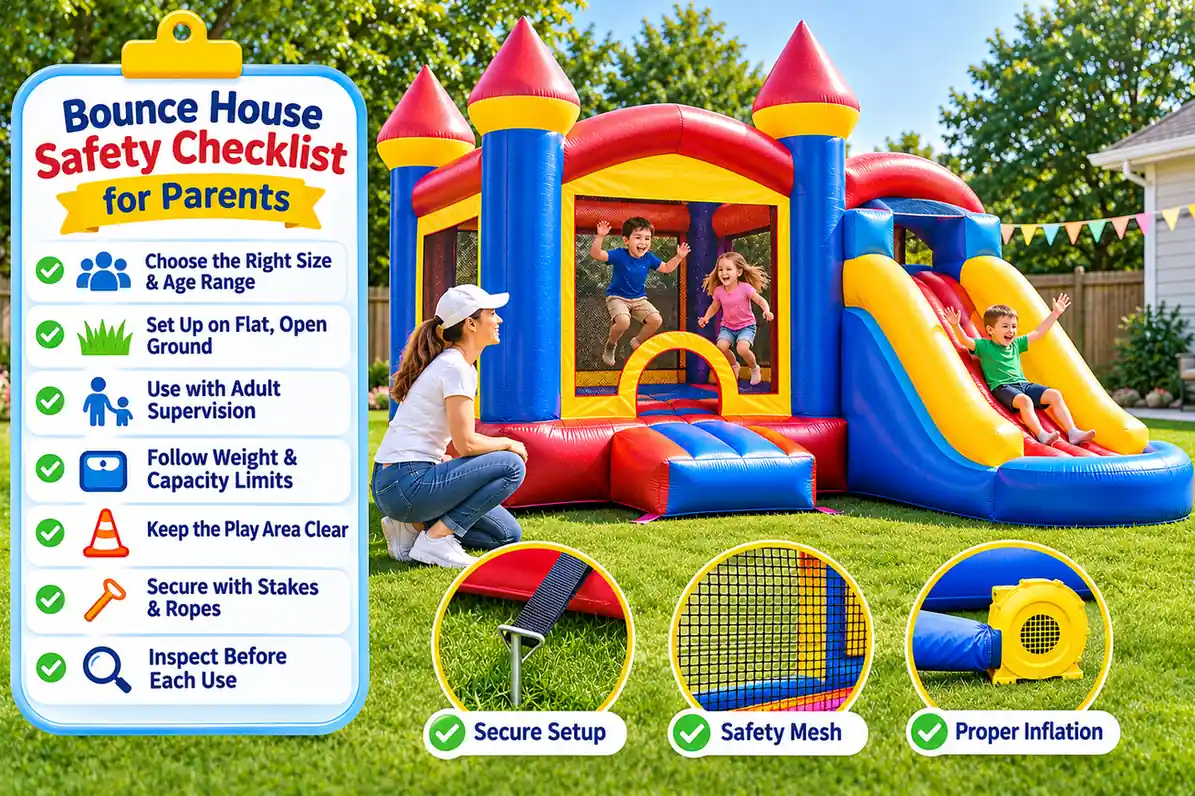
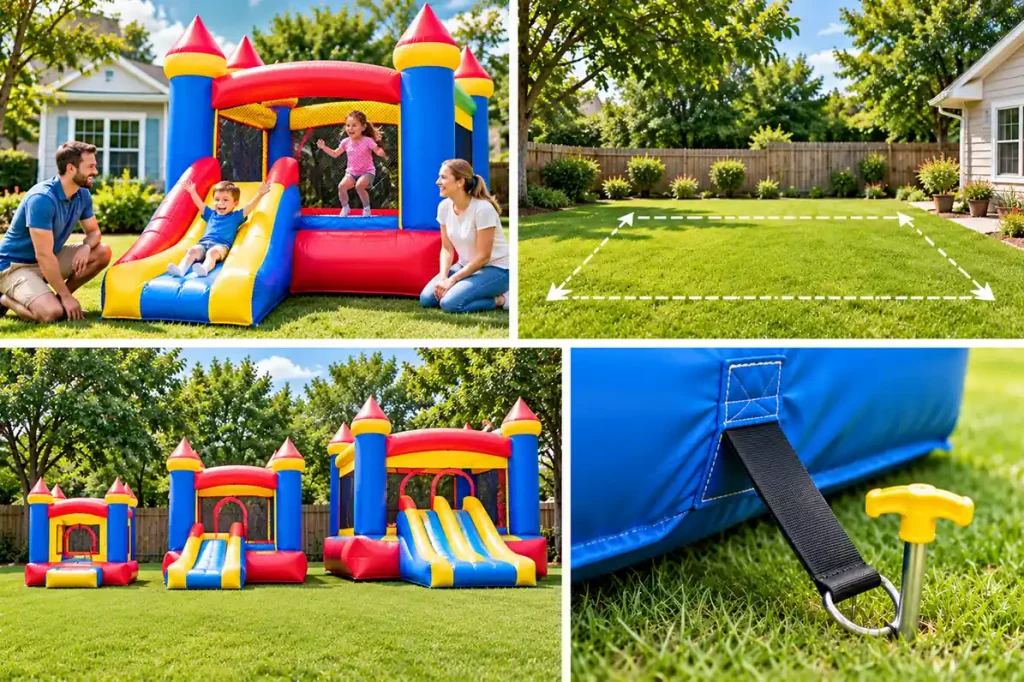
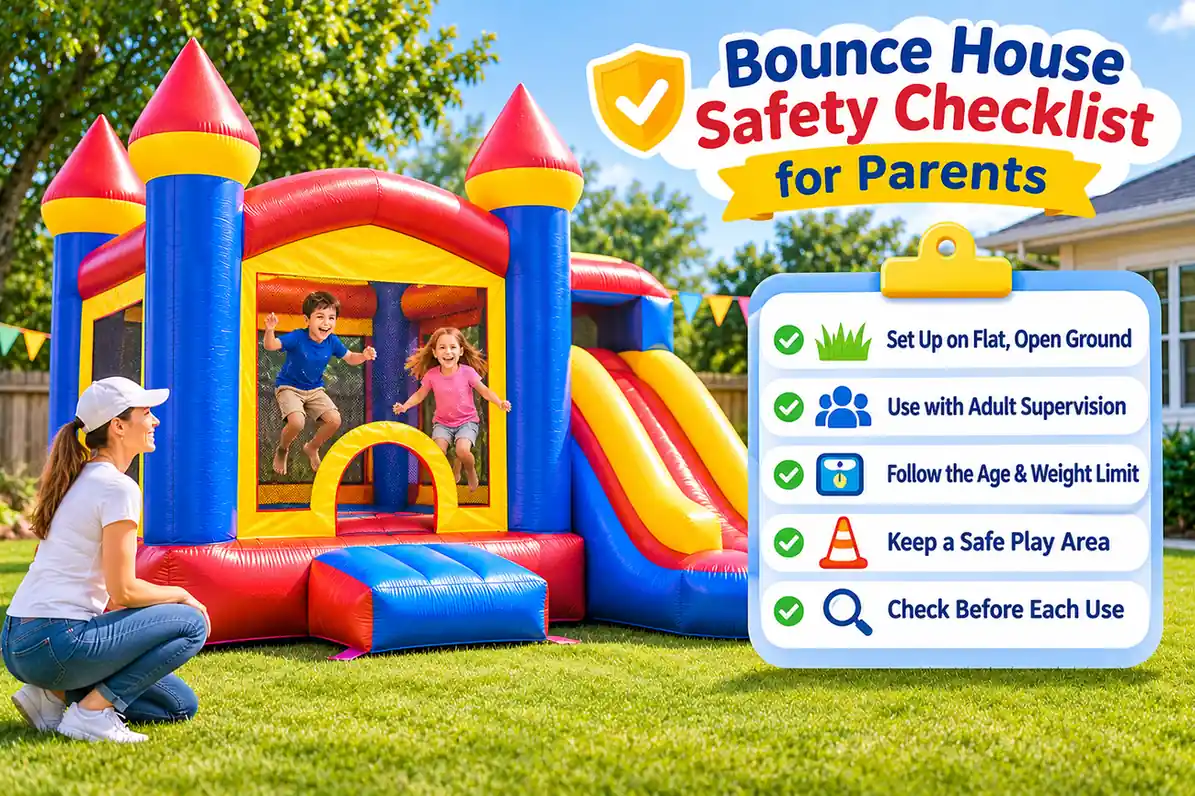
1、Check the ground surface: Flat, level grass is always the ideal surface. Avoid steep slopes, gravel, sharp mulch, or bare dirt. If you must set up on concrete or asphalt, lay down heavy-duty protective tarps and plan for sandbag anchoring instead of ground stakes.
2、Measure clearances: Clear a perimeter of at least 5 to 6 feet on all four sides of the bounce house. Look up as well: ensure there are no low-hanging tree branches, roof gutters, or overhead power lines within 10 to 15 feet above the peak.
3、Scan for hazards: Walk the area thoroughly. Remove all rocks, sticks, sprinkler heads, dog waste, garden hoses, and sharp debris that could puncture the vinyl underside.
2. Lay the Groundwork
Proper foundation work prevents punctures, moisture buildup, and unexpected tearing.
1、Lay down a heavy-duty tarp: Lay a commercial-grade tarp across the designated area. The tarp should be slightly larger than the footprint of the bounce house. This creates a moisture barrier and shields the unit from friction against the ground.
2、Position the storage bag: Transport the rolled bounce house to one end of the tarp using a sturdy hand truck or dolly. Commercial vinyl is heavy—attempting to carry it manually can cause back strain.
3. Unroll and Orient the Unit
1、Unroll the vinyl: Untie the storage straps and roll the unit out flat across the tarp.
2、Locate the entrance: Identify the front entrance/step and rotate the unit so it faces a clear, open lawn area where parents can easily supervise entry and exit.
3、Locate the inflation tube: Find the long fabric intake tube (snorkel) that connects to the blower. Position the unit so this tube points straight toward your power source without sharp bends or kinks.
4. Hook Up the Blower and Seal Vents
A critical step in how to set up an inflatable bounce house involves making sure all air escape routes are closed.The air system must be sealed correctly to build and maintain pressure.
1、Attach the air tube: Slide the blower tube snugly over the mouth of the electric blower fan. Wrap the strap, cinch collar, or buckle tightly around the neck to guarantee no air escapes at the connection point.
2、Seal deflation zippers: Check around the base of the bounce house for deflation flaps or heavy-duty zippers. Close all zippers fully and press any Velcro cover flaps firmly down to prevent air leaks.
3、Manage the power supply: Plug the blower directly into a dedicated 110V/120V GFCI (Ground Fault Circuit Interrupter) outdoor outlet. If you must use an extension cord, use a heavy-duty, 12-gauge or 10-gauge outdoor-rated cord (under 50 feet) to prevent voltage drop and motor overheating.
5. Inflate the Bounce House
Once the blower is connected, you are ready for the core stage of how to set up an inflatable bounce house properly.
1、Switch on the blower: Turn the power switch to the “On” position. Ensure the air tube remains straight and untwisted as air begins to flow.
2、Guide the expansion: As the unit fills, gently lift the top walls or pillars to help the airflow circulate evenly throughout the internal baffles.
3、Wait for full rigidity: Most residential models inflate in under 2 minutes, while larger commercial units take 3 to 5 minutes. The bounce house should feel firm, not squishy, under hand pressure.
4、Keep the blower running: Inflatable bounce houses are “constant air” systems—the seams are designed to release small amounts of air continuously to prevent over-pressurization. The blower must run continuously the entire time the bouncer is in use.
6. Anchor the Unit Securely (Crucial Step)
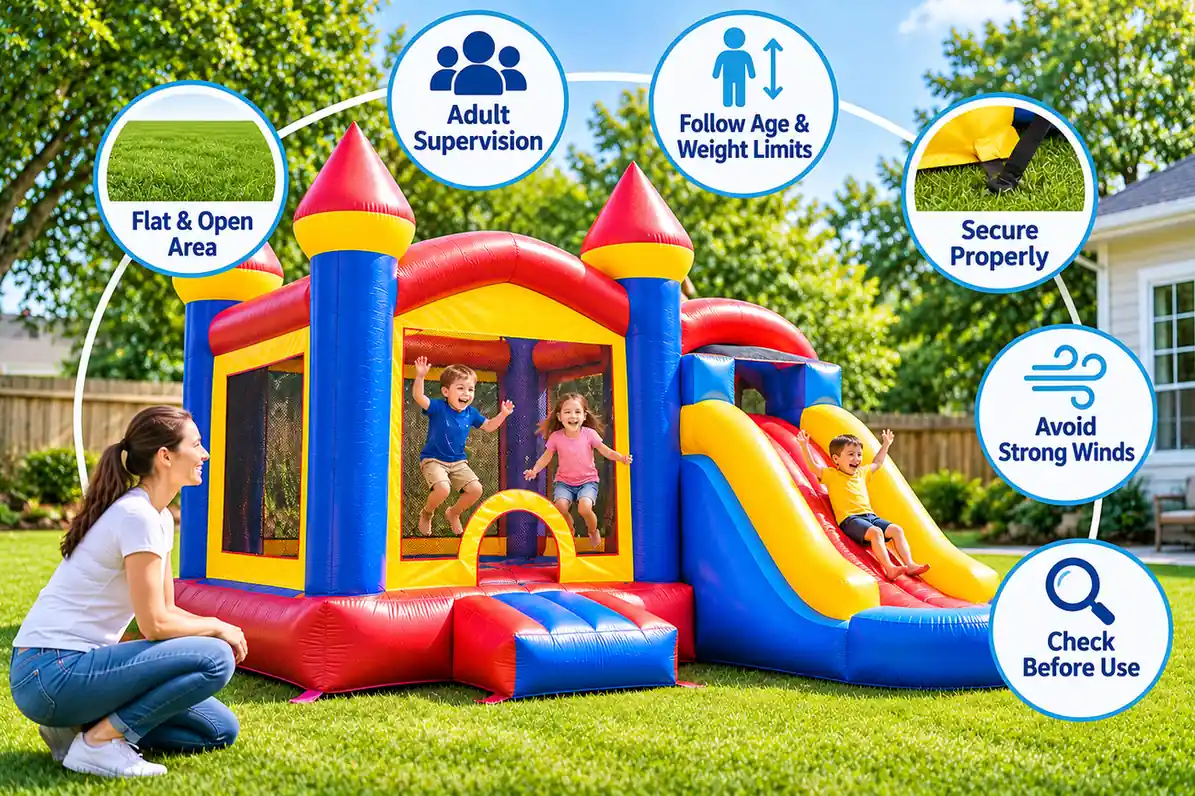
When learning how to set up an inflatable bounce house, never treat anchoring as optional.Never allow anyone inside an unanchored bounce house. Wind gusts are the single greatest hazard associated with inflatables.
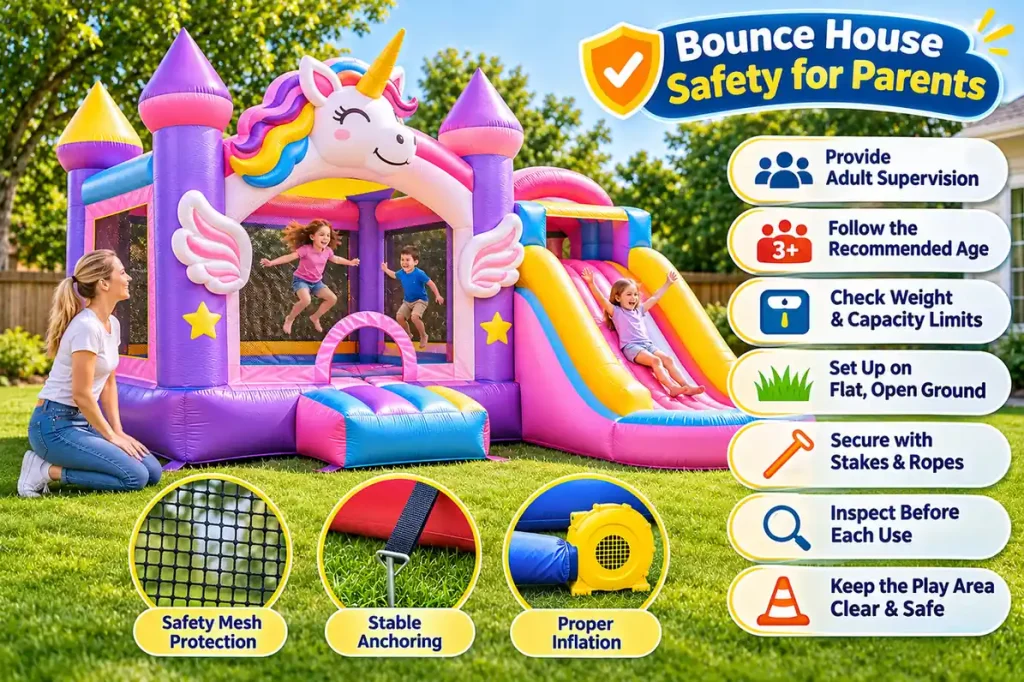
1、Drive heavy-duty ground stakes: Locate every anchor loop (D-ring) around the base of the unit. Drive 12- to 18-inch steel hook stakes or J-stakes into the ground at a 45-degree angle pointing away from the bounce house. Drive them flush with the soil so children cannot trip over them.
2、Use sandbags on hard surfaces: If anchored on a driveway or patio where stakes cannot be driven, attach commercial sandbags (typically 50–100 lbs per anchor point, depending on the manufacturer’s rating) to each D-ring.
3、Observe wind limits: Manufacturers strictly prohibit operating inflatables in sustained winds or wind gusts exceeding 15 to 20 mph. If winds pick up, evacuate the jumpers immediately and turn off the power.
7. Establish Ground Rules and Supervise
Once you finish the physical process of how to set up an inflatable bounce house, establish clear safety rules for the kids.Before letting children jump, run through basic safety protocols:
1、Remove shoes, eyeglasses, belts, jewelry, and sharp pocket items.
2、Group jumpers by age and physical size to prevent smaller children from being trampled.
3、Prohibit flips, wrestling, climbing on outside safety netting, and hanging from the entrance pillars.
4、Keep food, chewing gum, candy, and drinks completely out of the bounce house.
5、Maintain active adult supervision at the entrance at all times.
8. Deflation, Cleaning, and Storage
Packing away the bounce house correctly ensures it remains clean, mold-free, and ready for your next event.
1、Clear and inspect the interior: Check every corner inside the unit for lost toys, socks, or debris before cutting power.
2、Turn off the blower: Switch off the blower, unplug the power source, and detach the air intake tube.
3、Open all deflation ports: Unzip all deflation zippers and flaps. Walk gently over the collapsing vinyl with clean socks to press trapped air toward the open ports.
4、Allow to dry completely: If the unit got wet from rain, dew, or wet feet, let it air-dry completely in the sun before packing. Storing a damp inflatable leads to mildew and permanent vinyl degradation.
5、Fold and roll tight: Fold the outside walls inward toward the center to create a long, uniform rectangle roughly the width of your storage bag. Starting from the opposite end of the inflation tube, roll the vinyl as tightly as possible using your knees to squeeze out remaining air.
6、Buckle and store: Fasten the straps around the rolled unit, slide it into the storage bag, and store it off the floor in a cool, dry garage or shed protected from rodents.
Knowing how to take it down correctly is just as important as knowing how to set up an inflatable bounce house safely.